See more T&J here...

Showing posts with label Home projects. Show all posts

Wednesday, January 18, 2012

10 DIYs of Summer: Part 5

A brand new renovation has just been completed at Casa Ribena. I've gone classic and affordable with the permanent fittings, and now what we need are the unique personal touches. Stay tuned for my 10 DIYs of summer - maybe you can be inspired to do something for your own space! Here's part 5...

 ..........................................................................................................
A pair of bargain ex-hotel bedside tables are my next pop of colour for our new bedroom. After a jolly good sand to give the new colour some grip, a coat of primer and 2 coats of gloss yellow (Dulux 'High Alert'), they now have a hot new look and are a cheerful burst of colour to wake up to in every morning!
I also made the cushions from Spoonflower designers fabrics, and re-covered the light shade with scrapbooking card and an edge of bias fabric trim, it's on the Rodd wall light from Ikea, a nice compliment to the ceiling light.
 
Purrdy! xxx

Sunday, January 15, 2012

10 DIYs of Summer: Part 4

A brand new renovation has just been completed at Casa Ribena. I've gone classic and affordable with the permanent fittings, and now what we need are the unique personal touches. Stay tuned for my 10 DIYs of summer - maybe you can be inspired to do something for your own space! Here's part 4...
 ..........................................................................................................
 I've always loved this chair, though I always knew the fabric wouldn't look good for long. Pretty quickly the kid's vegemite and yoghurty fingers had it ruined and a makeover was much needed. Better to keep it safe in the new divine setting of my bedroom with some glamourous peacock teal damask, which once had been a bedspread!

 Now it has a thicker, softer layer of fabric on it and it's the perfect chair to perch on by the window to put on a select pair of shoes from the collection! Oh, the shoes!


 A little bit nanna, and a lot contemporary. Another bold pop of colour in our new bedroom... I LOVE!

Wednesday, January 11, 2012

10 DIYs of Summer: Part 3

A brand new renovation has just been completed at Casa Ribena. I've gone classic and affordable with the permanent fittings, and now what we need are the unique personal touches. Stay tuned for my 10 DIYs of summer - maybe you can be inspired to do something for your own space! Here's part 3...
 ..........................................................................................................
The previous owners of our little house had renovated the bathroom, with ill considered super-cheap everything. One of the many things which bothered me was the mirror frame, leading me to vow to wow when given the chance. Now, as part of a complete re-do, I've worked on an absolute beauty.
I found this large mirror with a fantastically ornate but tacky gold frame (obviously not antique) at a garage sale for $50 and I've given it a sexy satin black coat, now on the wall in our considered, conservative new bathroom... she's just the shot of glamour we need...
It pained me a little to use a hacksaw on it to notch a spot around the mixer tap, but it looks wonderful in place.
Now I'd just love another one for my hall table!

Monday, January 9, 2012

10 DIYs of Summer: Part 2

A brand new renovation has just been completed at Casa Ribena. I've gone classic and affordable with the permanent fittings, and now what we need are the unique personal touches. Stay tuned for my 10 DIYs of summer - maybe you can be inspired to do something for your own space! Here's part 2...
..................................................................................
Lighting the way in my new boudoir was always going to be something interesting and unique. While big name designer lights are covetable and showstopping, they also come with big price tags - and even still don't end up entirely unique anyway. Naturally, the only option for me is to customise something in a way unlike anything you can buy...

I chose a fairly Plain Jane 'Renata' 5 arm not-quite-chandelier at Bunnings and chose some urban romantic papers from Typo to give the shades a new look.
 I also simultaneously watched evening television and covered my fingers neatly in glue.... lovely!

Darling, it's totally glamorous in a non fluffy-girly way.

Monday, December 12, 2011

Getting closer: A tantallising preview

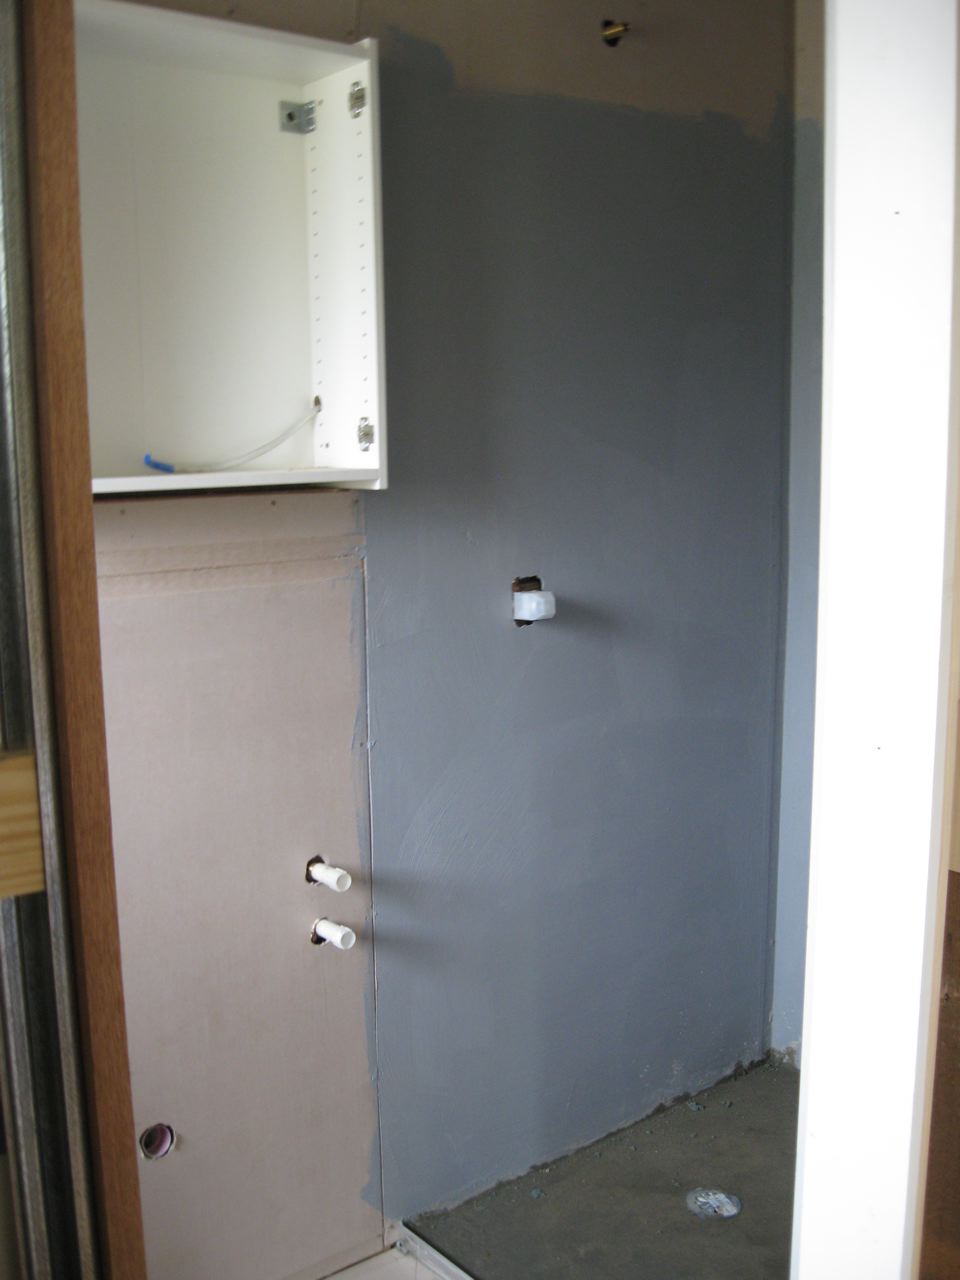
A sneaky preview this morning of our not yet completed renovation! The fixtures are about to go in today (I HOPE!!) after 3 weeks of tempestuous weather, perfectly timed for outdoor toilet and shower use...ugh. So, in the ensuite, below (which used to be wasted hallway space), I snuck in with the vanity unit and a few textiles... oooh, I'm getting excited!!

 In other exciting news this morning, a mention in 'Reveal' magazine, a Canberra Times liftout! I'm so happy to be included in Canberra's Bloggeratti!!
Awesome!
xx

Tuesday, November 29, 2011

Rising from the rubble

As things progress on our major bathroom rennovation...
 ...I'm feeling the need to create some pretty among the rubble and dust. So with some high gloss yellow, I'm making over some old bedsides for our new bedroom.
 
I've also been busy constructing part 2 (of 5) of our new wardrobe. Progress.
xx

Wednesday, November 23, 2011

Sunday, October 23, 2011

Frocktober 23: Sunday Sunday

I've had the fabulous pleasure of assembling  part 1 of 4 of my new wardrobe: The Shoe Display! Looks like I'll be needing some more shelves for this baby, the handbags are going at the top.

Sadly I'll have to wait at least 2 weeks before I can look at assembling the rest of it, but here's a little sneaky peek at what I'm thinking for our complete bedroom makeover...
Dark slate walls, white sheers, white bedding, white wardrobe, plus pops of colour everywhere. But that's all maybe 2 months before it will all be done... oooh, I can't wait!

Thursday, July 21, 2011

Out of the haze...

I've been quite unwell with the flu and have arrived at the other end intact. I felt the need to make something with my hands, and what better than a sunny flower to bring joy into a room. 


This dinner plate sized bloom is straight from the book Paper + Craft, and so lovely. Ahh, I'm back!

Wednesday, June 29, 2011

Designing: my bathroom

Putting together a few ideas for our bathroom renovation...
It'll be black and white with a few pops of colour, and a little bit urban and fabulous. 
We're also squeezing an ensuite in and re-arranging spaces and doorways and re-working the inefficient 1969 main wardrobe... interesting times ahead, I can't wait to put my ideas into practice.

Saturday, May 7, 2011

It's raining curtains

A wonderful, mammoth order of my fabric designs arrived yesterday, and the first project off the ranks... a set of fabulous curtains for little Hugo's room. Finally replacing the hastily purchased and long since broken roman blinds, these ones make the room feel complete. Loving...


My Raindrops design in Sea is available to purchase on Spoonflower right here.
And stay tuned for more fabulous rescued chairs - in T&J fabric designs... I can't wait to get stuck into them!

Tuesday, April 26, 2011

Something lurking under my bed...

 Our Easter project... can anyone guess?
 Did anyone say: Super-Gucci flock-lined custom-built shoe storage?

Welcome to your new boutique hotel suite darling shoes. 
We built these 3 wooden trays which slide on felt, to perfectly fit 18 pairs of shoes in style under the bed. Our super easy project began with a visit to Bunnings only 24 hours ago... with $50 of pine and MDF, glue, nails, 2 rolls of adhesive woodgrain film (contact paper!) and 4 sheets of my favourite Christina Re flocked paper, behold...

 
Is anyone saying: That's just too many shoes?
Well, that's just absurd, that's not the half of them... there's still all these ones which are anticipating equally Gucci accommodation in the next 6 months, stay tuned!

Thursday, January 13, 2011

Lounge room re-designed

I've been making a few changes and re-designing parts of my house lately. In the lounge room the colour scheme we painted 8 years ago was really tired and my growing little boys had out grown the legroom at the flower coffee table (see it here), so changes needed to be made.


So, gone is the deep plum feature wall (which appeared in Home Beautiful Magazine) replaced with all around soft baby blue/green which makes the white trim and furniture seem so new and fresh and seems to change the dimensions of the space.


To add some sass to all the softness, I've added some bold black and white elements which I hope, lead the eye away from the TV when it's off. The curtain panels are my own fabric design, available here, and the rug is a freshly stencilled DIY I finished a couple of days ago (lots of masking tape and patience!). The table is a thrifted find on an online auction site, to which we added castors for mobility and to bring it up to the perfect height.


The little chairs have been recovered with some fresh - and hardy fabric, as has my fave chair in the corner (you might remember this one), and a few splashes of colour in the artworks and coat rack (with a nod to Arthur Stace) and we have a fresh new look I'm loving.


Below: This is what you see when you walk into the room... before and after (click to see it larger)...

Ahh, feels like summer! xxx

Sunday, December 19, 2010

I've been: designing fabrics!

Something new... I've been designing my own fabrics for some special upcoming DIY projects this summer. The collection is full of bold graphic statement fabrics...

I'm very inspired by Johnathan Adler's Happy Chic concept, David Hicks (amazing 60's designer) and Kate Spade (fashion designer)...


So far I have 16 designs, you can see them here on Spoonflower... I simply can NOT wait to see how they look printed on the fabric!!! Samples are on the way... squee!

Sunday, January 17, 2010

Road side wreck to GORGEOUS!

I found a sad little broken up kids lounge chair while walking my pooch the other day, looking decidedly worse for wear, the ugly "upholstery" was torn and faded and the seat completely broken: I saw a challenge and a clear vision...


Above: BEFORE
Below: AFTER!


I kept the old fabric underneath and covered it over with a heavy weight cotton print fabric from Ikea, starting around the back and sides, then folding it neatly over the arms, and a seperate panel at the front. Then I replaced the broken seat base (wood), re-upholstered it and fixed it all in place. It was a fairly simple operation in the end - and the staple gun is my best friend!!


I'm pretty happy with this result and Hugo is well pleased to have this added to his pretty cool room!

Wednesday, July 8, 2009

More Chairs: before and after

Another chair project and the realisation that I have a chair problem! I take pity on neglected and nearly destroyed chairs and take it upon myself to give them a new life as a covetable item. So here are my most recent street urchins...


These photos show the before and after of the chair and ottoman. I have 2 of each to play with, and started with one of each. Both had tatty vinyl coverings (the ottomans also covered in fabric), so they were stripped and recovered. The back rest of the chair was finished with hand stitching, but the hidden parts were done with the staple gun.

Gorgeous, though I'd love to keep them for myself, my house (and my husband) can only tolerate so many odd chairs. These will be coming with me to the next Handmade Market on September 12th. But secretly, I really wouldn't really mind if they don't sell - I'm sure I could find a spot somewhere... just don't tell my husband!

Thursday, August 14, 2008

New painting... love it?


Inspired by kikki.k's gift card of the same scheme, I needed something huge and dark to complete the playroom. It breaks up an expansive 8 metre white wall and serves to define the play room part of the open plan space (adjacent to the casual dining zone).


Love it? I'm not completely convinced, but it's growing on me! I think the room needs it, and once I can stop STARING at it, I will be able to relax and enjoy it! Hopefully!

Sunday, June 15, 2008

Storage love: Ikea road tripping

A recent Ikea road trip saw me able to complete my wall of storage in our play room. The toys had been getting out of control so I chose this solution from Ikea.

It is comprised of 3 Lack coffee tables, joined together, with 3 Ivar storage boxes. I added castors to the boxes (which bring them to a perfect height to avoid finger squashing) and chalkboard paint so the kids can have a little fun - or we can draw or write what is inside each?
On the wall is the Dignitet wire hanging system so I can clip up the kids' art or posters etc. I am planning a large canvas for the right side on the wall - yet to be inspired on that one!

I love it because it keeps everything out of site - but only when they are put away!

Visit me at